

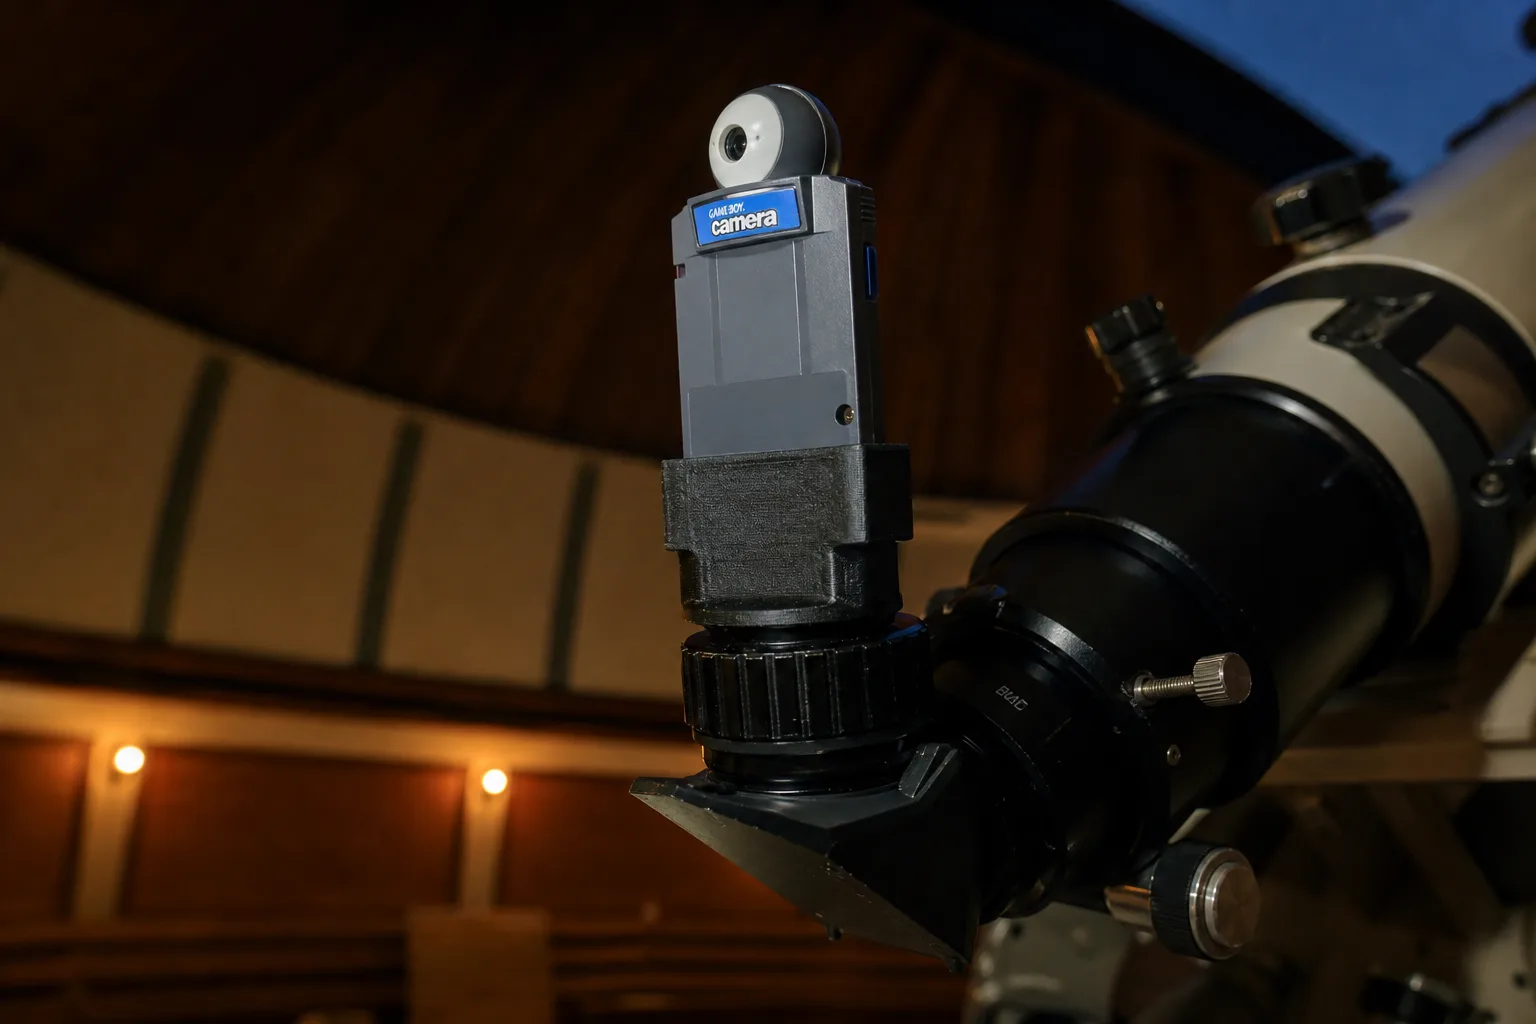
Last month, musician and retro tech enthusiast Chris Graue did something most people would consider completely absurd: he pointed a Game Boy Camera at Jupiter and actually got a usable photo. Now he’s gone one step further — he’s released the free, 3D-printable schematics that made it possible, turning a one-off stunt into something any hobbyist can attempt. The Game Boy Camera telescope adapter is yours for the taking, no engineering degree required.
- Chris Graue has released free 3D-printable schematics for his Game Boy Camera telescope adapter so anyone can replicate the build.
- The Game Boy Camera telescope adapter is a pressure-fit tube designed for standard 1.25-inch telescope eyepieces.
- Graue originally used the Hooker Telescope at Mount Wilson Observatory to photograph Jupiter with the novelty Nintendo camera.
- The project highlights a thriving DIY scene around Game Boy Camera mods, from mirrorless conversions to telephoto rigs.
Table of Contents
How the Game Boy Camera Telescope Project Came Together
To be clear, a Game Boy Camera on its own can’t see across a parking lot in any meaningful way. The sensor is a 128×128-pixel CMOS chip that Nintendo originally crammed into a chunky cartridge attachment back in 1998. Its entire purpose was novelty — little black-and-white portraits, mini-games, and the sheer delight of a handheld camera that felt ridiculous even by late-nineties standards. Pointing it at a gas giant 600 million kilometres away requires a bit of help.
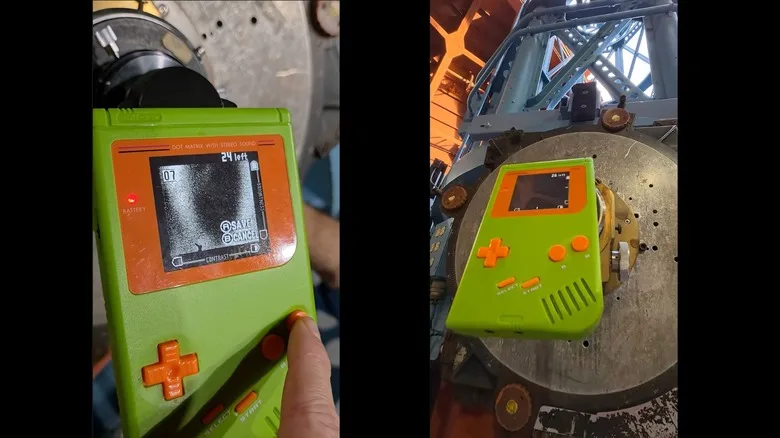
That help came in the form of the Hooker Telescope at Mount Wilson Observatory in California — a 100-inch (2.54-metre) reflector that, when it was completed in 1917, was the largest telescope in the world. Edwin Hubble used it to confirm that the Andromeda nebula was a separate galaxy. Graue used it to take a photo with a Game Boy Camera telescope setup. Both achievements feel significant in their own way.
Working with colleagues, Graue designed a 3D-printed adapter that physically bridges the Game Boy Camera and the telescope’s eyepiece. Slide it in, lock it in place, fire up the camera cartridge — and suddenly you’ve got a sensor from a children’s toy coupled to one of the most storied optical instruments in astronomy history.
The Game Boy Camera Telescope Adapter — What It Actually Is
In Graue’s own words, the adapter is ‘a tube that pressure fits inside of a standard 1.25 inch eyepiece for telescopes.’ That’s it. There’s no electronics, no custom firmware, no complicated machining. It’s a passive mechanical coupling — the telescope does the optical heavy lifting, and the Game Boy Camera just sits at the focal point and records whatever light hits the sensor.
The 1.25-inch eyepiece standard is about as universal as it gets in amateur astronomy. The vast majority of consumer and prosumer telescopes — from entry-level Celestron and Sky-Watcher models to mid-range Dobsonians — use this format. That means the Game Boy Camera telescope adapter Graue designed isn’t just useful for people with access to century-old observatory hardware. If you own any halfway-decent telescope sitting in a cupboard, this thing could work with it.
The files are free. Graue posted them publicly alongside a short tutorial video on YouTube Shorts, where he walks through the build in plain language. His announcement on social media was matter-of-fact: ‘Remember my Game Boy Camera telescope — the one I used to take a picture of Jupiter? Now you can too.’ The response, predictably, was enthusiastic.
Why This Matters Beyond the Novelty
It’d be easy to dismiss the whole thing as a stunt — and honestly, the Jupiter photo itself is more proof-of-concept than fine art. The image is low-resolution, monochrome, and grainy in the way that only a 28-year-old consumer sensor can manage. But that’s not really the point.
What Graue has done is demonstrate something the DIY and maker communities have known for years: the barrier between ‘obsolete consumer junk’ and ‘functional scientific instrument’ is often just a well-designed adapter. The Game Boy Camera telescope pairing is an extreme example, but the principle applies everywhere. Amateur astronomers have been building eyepiece adapters for DSLR cameras for decades. The difference here is the sheer audacity of the sensor choice — and the fact that it actually worked.
There’s also something worth thinking about regarding 3D printing’s role in all of this. Even five years ago, Graue would have needed a machine shop or a very patient friend with a lathe to fabricate a custom adapter like this. Now, the design files go online, and anyone with a $200 FDM printer can have a working copy in an afternoon. The democratisation of hardware prototyping has reached deep into hobbyist astronomy, and projects like this are the visible evidence of that shift.
The Game Boy Camera’s Unlikely Second Life as a Modder’s Canvas
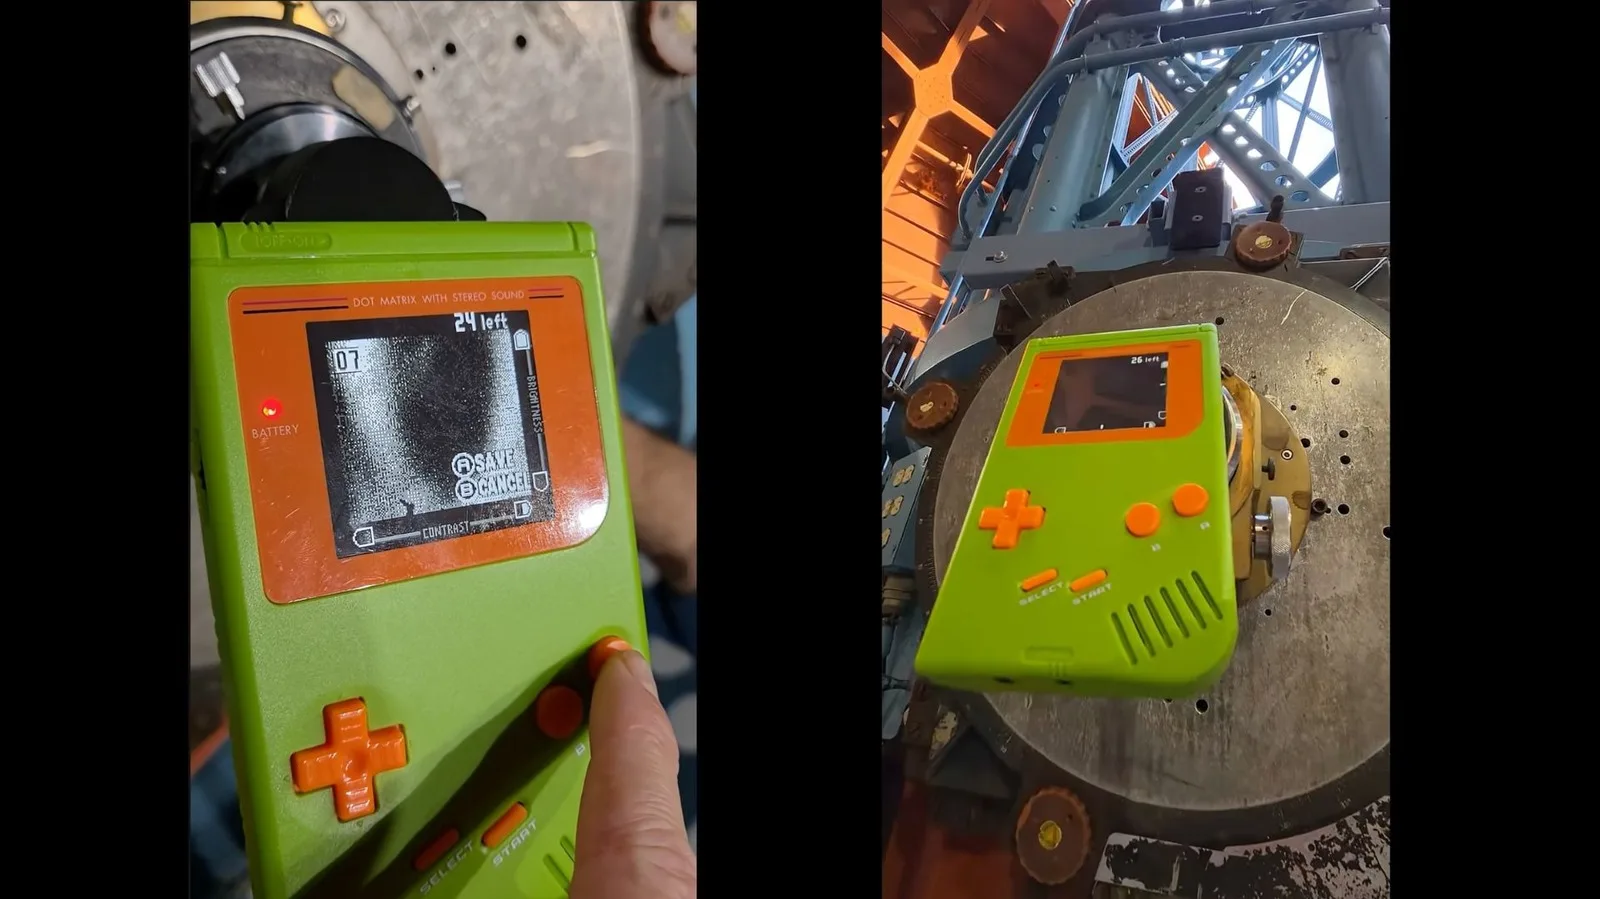
This isn’t the first time the Game Boy Camera has found itself at the centre of something unexpected. Over the past decade, the modding community has pushed the hardware in directions Nintendo’s engineers almost certainly never anticipated.
People have converted Game Boy Camera cartridges into functional mirrorless camera bodies, swapping out the fixed lens module for M12 or CS-mount optics to get different fields of view. Others have wired the sensor up as a USB webcam — a particularly popular project during the pandemic era when webcams were both expensive and scarce. Some have built telephoto rigs not entirely unlike what Graue has done with his Game Boy Camera telescope build, though typically aimed at birds and sports rather than gas giants.
The common thread across all of these projects is that the Game Boy Camera’s sensor, despite its age and obvious limitations, is surprisingly hackable. The interface is well-documented, the physical format is consistent, and there’s a large enough community of people who grew up with the original hardware that interest never completely died out. Nostalgia and engineering curiosity turn out to be a productive combination.
What You’d Actually Need to Try This at Home
Let’s be practical for a moment. If Graue’s tutorial has you itching to try your own Game Boy Camera telescope session, here’s what the project realistically requires.
- A working Game Boy or Game Boy Color with the Camera cartridge — these still sell on eBay and Etsy for roughly £15–40 depending on condition.
- A telescope with a standard 1.25-inch focuser. Almost any consumer reflector or refractor will do.
- Access to a 3D printer, or a local library or makerspace that has one. The print itself should take a couple of hours at most.
- A way to capture the Game Boy’s screen output — either photographing the LCD directly, or using a Game Boy with a link cable and a capture device to save images digitally.
You’re not going to photograph Jupiter from your back garden with a standard 6-inch reflector. The Hooker Telescope’s 100-inch primary mirror is doing extraordinary work in Graue’s original image. But the Moon, which is substantially closer and far more forgiving, is absolutely within reach — and at the resolution of a Game Boy Camera telescope image, the lunar surface has a kind of gritty, impressionistic quality that’s genuinely appealing in its own right.
The broader implication here is that Graue has essentially created an on-ramp for a type of astrophotography that’s entirely inaccessible through conventional means — not because it requires expensive gear, but because it requires weird gear. And that weirdness is precisely what makes it interesting. The maker community has always thrived on constraints, and few constraints are more delightfully arbitrary than ‘the sensor must have been designed for a children’s toy released in 1998.’
Whether or not anyone produces a photo that rivals what you’d get from a modern ZWO planetary camera is beside the point. The Game Boy Camera telescope project is a reminder that the gap between ‘this is obsolete’ and ‘this is useful’ is often just a good idea and a spool of PLA filament.
Frequently Asked Questions
How does the Game Boy Camera telescope adapter work?
It’s a 3D-printed tube that pressure-fits inside a standard 1.25-inch telescope eyepiece, physically coupling the Game Boy Camera sensor to the telescope’s optics. Graue released the schematics for free, so anyone with a 3D printer can make one at home.
Do you need access to a giant telescope to use this adapter?
No. Graue used the Hooker Telescope at Mount Wilson Observatory for his Jupiter shot, but the adapter works with any telescope that has a standard 1.25-inch eyepiece. Results will vary depending on your scope’s capabilities.
Where can I download the Game Boy Camera telescope adapter files?
Chris Graue shared the schematics for free via his social media post and an accompanying tutorial video on YouTube Shorts. Search for his handle — @chrisgraue.com — or look for the video linked in his July 2026 post.
What other things have people made with the Game Boy Camera?
Modders have turned the Game Boy Camera into mirrorless cameras, functional webcams, and telephoto lens rigs over the years. It’s become a favourite subject for the retro hardware and DIY photography communities.